A leaky faucet is one of the most common household problems that many homeowners face. The incessant drip-drip-drip can be not only annoying but also wasteful, leading to increased water bills and potential water damage if left unaddressed. The good news is that in many cases, fixing a leaky faucet can be a relatively simple task that can be done without the need to call a plumber. With a few basic tools and a bit of know-how, you may be able to tackle this DIY project on your own. So, can a leaky faucet be fixed without a plumber? Let’s dive into the details.
Identifying the Type of Faucet
The first step in fixing a leaky faucet is to identify the type of faucet you have. There are four main types of faucets: compression, ball, cartridge, and ceramic disk. Each type of faucet has different internal mechanisms, and knowing the type of faucet you have will help you determine the best approach to fixing the leak.
Gathering the Necessary Tools
Before you start working on fixing the leaky faucet, make sure you have the necessary tools on hand. You will likely need an adjustable wrench, screwdrivers, pliers, and possibly a faucet repair kit, which you can find at most hardware stores. Having the right tools will make the job easier and ensure that you can complete the repair successfully.
Shutting Off the Water Supply
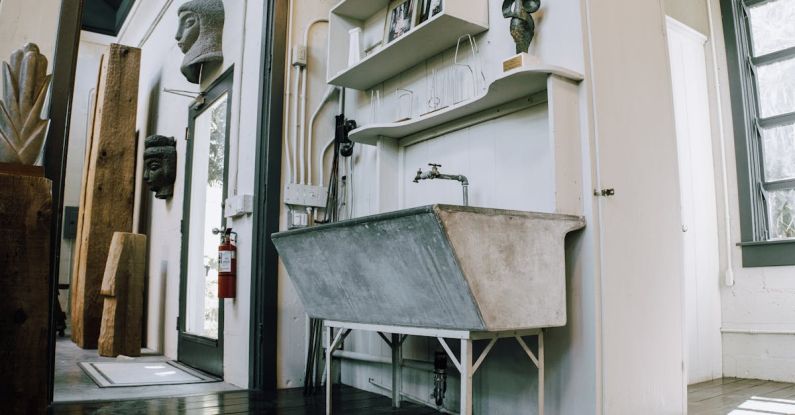
Before you begin any work on the faucet, it is essential to shut off the water supply to prevent any accidents or further leaks. Most faucets have shut-off valves located under the sink. Turn off the water supply by turning the valves clockwise until they are fully closed. Once the water supply is turned off, open the faucet to drain any remaining water in the lines.
Taking Apart the Faucet
Depending on the type of faucet you have, you will need to disassemble the faucet to access the internal components. Use the appropriate tools to remove the handle, decorative cap, and any other parts that are covering the faucet’s valve. Once you have exposed the valve, carefully remove it using pliers or a wrench.
Inspecting and Replacing Parts
Once you have removed the valve, inspect it for any signs of damage or wear. Oftentimes, a leaky faucet is caused by a worn-out washer, O-ring, or seal. These parts can usually be replaced relatively easily with a new one from a faucet repair kit. Make sure to replace any damaged parts with the correct replacements to ensure a proper seal and prevent future leaks.
Reassembling the Faucet
After you have replaced any necessary parts, reassemble the faucet by following the steps in reverse order. Make sure all components are properly aligned and tightened to prevent any leaks. Once the faucet is reassembled, turn the water supply back on and test the faucet to ensure that the leak has been fixed.
Alternative Solutions
If you have attempted to fix the leaky faucet yourself and are still experiencing issues, it may be time to consider calling a professional plumber. A plumber will have the expertise and tools necessary to diagnose and repair more complex faucet problems that may be beyond your DIY capabilities. Additionally, a plumber can help ensure that the repair is done correctly to prevent any future leaks.
In conclusion,
A leaky faucet can often be fixed without the need to call a plumber, saving you time and money. By identifying the type of faucet, gathering the necessary tools, shutting off the water supply, inspecting and replacing parts, and reassembling the faucet, you may be able to successfully repair the leak on your own. However, if you encounter difficulties or the problem persists, don’t hesitate to seek professional help. Remember, a small leak today can lead to bigger problems tomorrow, so it’s essential to address the issue promptly.